ONAIR / Installation & Setups
Hidden setup or trunk display?
Plan an air-ride layout that looks intentional and stays practical to own.
Choose the look after you define the space, air demand and servicing requirements. Hidden and display setups both need secure mounting, protected wiring and plumbing, cooling and reachable drains. The finish should work around the system, not obstruct it.

Decide how much cargo space the car still needs.
Keep drains, fuses and service connections reachable.
Build the presentation around verified component dimensions.
01 / THE DETAILS
Start with what the trunk has to do.
A daily car carrying luggage has a different brief from a dedicated show build. Decide what must remain usable, which panels should still open and whether components need protection from cargo.
Then measure the actual installation space. Include brackets, fittings, cable bends, air-line routes and access for tools. A bare tank dimension is not the full installed footprint.
02 / THE DETAILS
Two looks, the same functional requirements.
Hidden hardware
Keeps a more factory-style appearance and can preserve an uncluttered load area. Removable access panels, cooling and service routes need to be planned from the start.
Visible display
Makes the tank, compressors and plumbing part of the design. Consistent spacing and finish help, but secure mounting and protection remain essential.
Neither approach automatically means lower cost, easier maintenance or less space. The car and chosen equipment decide the work involved.
03 / THE DETAILS
Arrange the service points before the beauty panels.
- Position the large components.
Allow for proper mounts and the compressor manufacturer's cooling and inlet requirements.
- Plan the connections.
Check port threads, plumbing support and protected wiring routes.
- Reach the maintenance items.
Confirm how a drain, fuse or compressor can be inspected and serviced later.
- Design the finish.
Add the trim, floor or display only after those requirements are resolved.
04 / THE DETAILS
Use real builds to sharpen the idea.
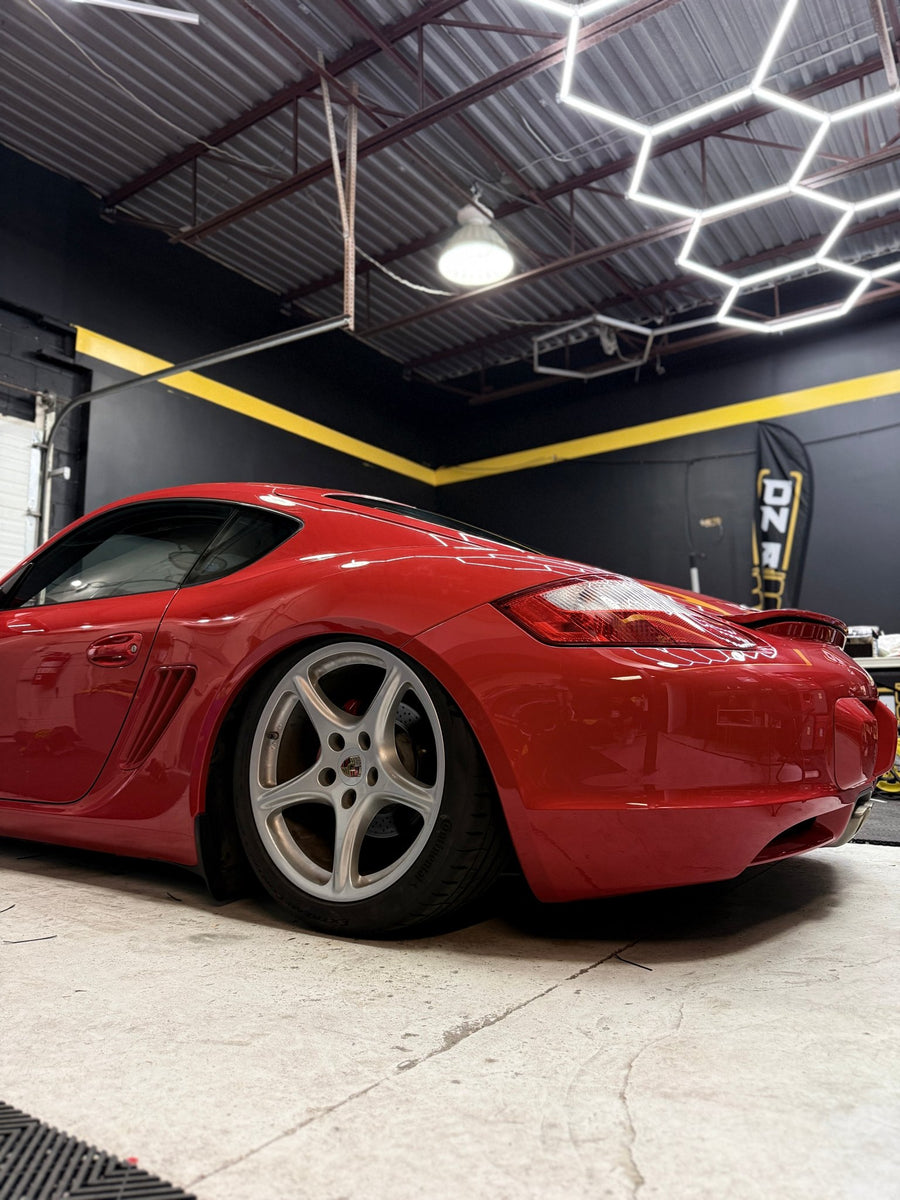
AJ's Cayman uses the frunk for its air supply. George's GTI makes the tank and hardlines part of a finished trunk floor. They solve different packaging briefs.
Bring an installer the detail you like - a clean floor, concealed management, a colour palette or a display layout - rather than demanding that another vehicle's dimensions be copied.
05 / THE DETAILS
Before approving the layout, ask these questions.
- Can the system be serviced without destroying the finish?
- Can cargo damage the hardware, lines or wiring?
- Are the mounts, airflow and plumbing appropriate for the equipment?
- Is the normal driving setup verified independently of the parked appearance?
A good-looking layout should still make sense with the tools out and the car being maintained.
ONE MORE THING
The questions that come next.
Can I hide a compressor behind trim?
Only when the installation meets its mounting, cooling and inlet requirements and retains service access. A sealed decorative space is not automatically suitable.
Do hardlines make the system maintenance-free?
No. Correct connections, support, routing and inspection still matter. The choice is not purely cosmetic.
Should I choose the largest tank that fits?
Not automatically. Balance reserve, compressor recovery, mounting and usable space. Include fittings and access in the measurement.
Sources & equipment references
General education is not a replacement for the instructions supplied with your exact components. Product-specific ratings and procedures do not transfer automatically to another setup.
- AJ's Cayman build
Verified compact frunk-layout example.
- George's GTI build
Verified finished-floor and hardline example.
- VIAIR technical FAQ
Follow the chosen compressor's installation and operating requirements.